Winter driveway maintenance isn’t glamorous, but neglect it for a season or two and you’ll pay for it in cracks, pits, and frustrating ice patches. The good news? A smart, simple routine goes a long way.
You don’t need to become a contractor. You just need a plan.
Quick Overview: What Winter Driveway Maintenance Really Means
- Inspect and repair cracks before freeze-thaw cycles get aggressive.
- Keep your driveway clear of snow, ice, and standing water as consistently as possible.
- Use deicers that match your driveway material and climate.
- Protect the surface with proper sealing and drainage.
- Consider upgrading to eco-friendly snow melting solutions for driveways 2026 for safer, cleaner winter control.
Why Winter Driveway Maintenance Matters So Much
Water is your driveway’s worst winter enemy. It sneaks into tiny cracks, freezes, expands, and widens damage a little more each time. Repeat that cycle across a full season and you’ve got potholes, flaking concrete, and ugly spalling waiting for you in spring.
A consistent winter driveway maintenance routine helps you:
- Prevent costly repairs (or full replacement) by protecting the structure.
- Improve safety by reducing slip hazards for you, your family, and delivery drivers.
- Maintain curb appeal so your driveway doesn’t age 10 years in two winters.
Think of winter maintenance as cheap insurance for a very expensive surface.
Step 1: Know Your Driveway Type (It Changes the Rules)
Different materials handle cold, moisture, and chemicals differently. Before you do anything else, get clear on what you’re working with.
Concrete Driveways
- Pros: Durable, long-lasting when maintained.
- Cons: Sensitive to harsh deicers; prone to surface scaling from freeze-thaw cycles.
- Key Tip: Use driveway-safe deicers and keep heavy snowpack off as much as possible.
Asphalt Driveways
- Pros: Slightly flexible, often handles freeze-thaw a bit better.
- Cons: Softens in heat, can crack with heavy loads and age.
- Key Tip: Avoid metal shovels that gouge, and sealcoat on a regular schedule.
Paver Driveways (Concrete or Stone)
- Pros: Great drainage, easy to repair individual sections.
- Cons: Joints can shift if base prep is weak; polymers and sands can wash out.
- Key Tip: Keep joints in good shape and avoid heavy chemical use that degrades joint sand.
Gravel Driveways
- Pros: Very forgiving, cheap to repair.
- Cons: Snow removal can move gravel around; muddy ruts if poorly graded.
- Key Tip: Regularly regrade and add material where needed before winter.
Knowing your surface is step one. The wrong product on the right driveway can still go sideways fast.
Step 2: Pre-Winter Inspection and Prep
The best winter driveway maintenance starts before the first storm.
Do a Fall Walkthrough
Walk the entire length of your driveway and look for:
- Hairline or visible cracks
- Potholes or depressions
- Areas where water pools after rain
- Edges that are crumbling or unsupported
- Stains that might indicate oil or chemical damage
Fix what you can now. Winter is a force multiplier — small issues become big problems.
Clean and Clear the Surface
- Remove dirt, leaves, and organic debris that hold moisture.
- Clear grass and soil encroaching onto the driveway edges.
- If appropriate for your surface, use a pressure washer on a gentle setting to lift grime (then let it dry thoroughly).
Seal and Protect (If Needed)
For concrete and asphalt:
- Consider a penetrating sealer or sealcoat if you’re due (typically every few years for asphalt, less often for concrete but subject to climate and product).
- Make sure the product is rated for freeze-thaw conditions in your region.
Sealing isn’t cosmetic. It’s a protective barrier that helps keep water and deicing chemicals out of the pores.
Step 3: Build Your Winter Driveway Toolkit
You don’t need a mountain of gear, just the right basics:
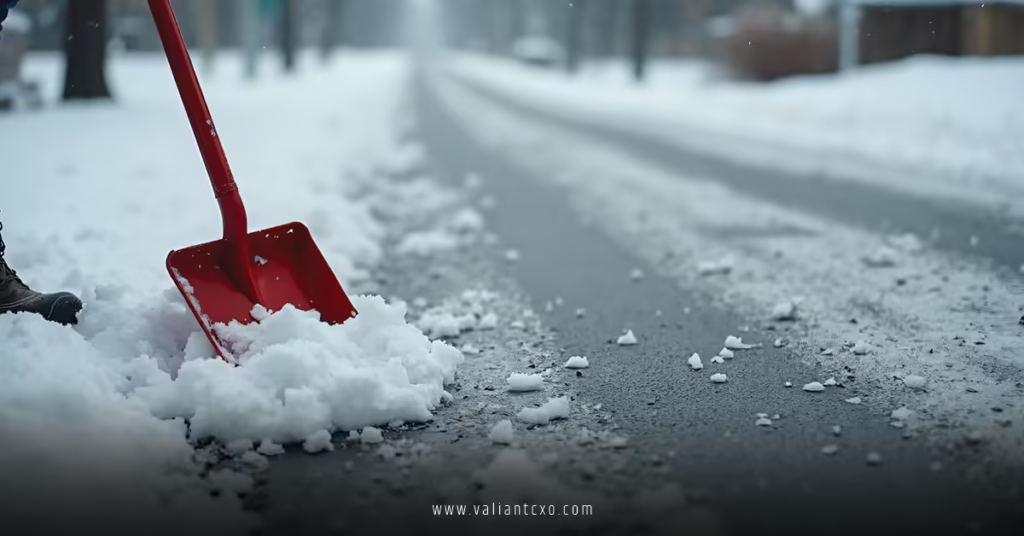
- A sturdy snow shovel (ideally with a plastic edge for delicate surfaces).
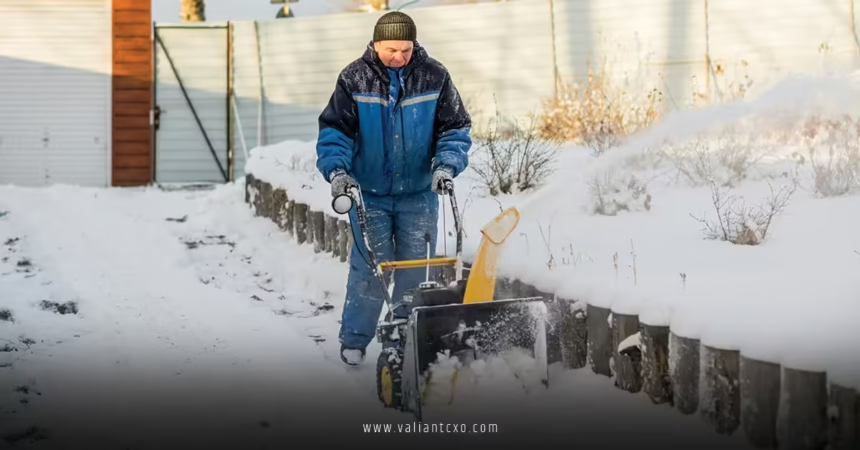
- A snow blower for longer or wider driveways.
- Traction material: sand, grit, or a designated traction product.
- A driveway-safe deicer that matches your surface type and typical temperatures.
If you want to reduce chemical use, it’s worth exploring eco-friendly snow melting solutions for driveways 2026 as part of your long-term strategy, especially in problem areas that always ice over.
Step 4: Smart Snow Removal Habits
Snow removal is where most people either shine or slip up.
Clear Early and Often
- Remove snow before it gets packed down by tires or foot traffic. Packed snow turns into ice and becomes much harder to deal with.
- Don’t wait for the end of a long storm if you can help it; a couple of lighter passes are easier on both you and the driveway.
Use the Right Technique
- Keep shovel blades slightly raised on concrete and asphalt to avoid scraping and gouging the surface.
- Push snow instead of lifting when possible to save your back and reduce stress on the surface.
- For pavers and gravel, adjust snow blower skids higher to avoid sucking up stone or catching edges.
Good technique now saves money and pain later.
Step 5: Smart Use of Deicers and Traction
This is where things often go wrong.
Choose the Right Deicer
Match your product to:
- Surface type: Some deicers are not recommended for fresh concrete or certain finishes.
- Lowest typical temperature: Products have effective temperature ranges. Below that, you’re just sprinkling expensive confetti.
If you want to reduce salt and harsh chemical use, pairing smaller amounts of deicer with eco-friendly snow melting solutions for driveways 2026 or basic traction materials is a smart move.
Use Less Than You Think
- Apply deicer sparingly and only where needed — steps, slopes, and high-traffic areas.
- Let the product break the bond between ice and surface, then shovel slush away. Don’t just leave a briny mess to refreeze.
Always Have a Traction Plan
- Sand or grit won’t melt ice but gives instant grip for cars and people.
- Focus traction on steep sections, curves, and the area closest to your garage and entryways.
Think of deicer as a surgical tool, not a blanket solution.
Step 6: Manage Water and Runoff
If water can’t leave, it will freeze. Every time.
Identify Drainage Issues
After a melt or warm spell, look for:
- Puddles that linger on the driveway.
- Water flowing across frequently traveled sections.
- Icy spots that appear in the same places after each thaw.
Fix What You Can
- Clear any blocked drains, culverts, or channels.
- Create shallow paths for water to escape using safe grading or small trenching (within reason and local code).
- In the long term, consider regrading or upgrading your driveway design for better drainage.
Water management is one of the most underrated parts of winter driveway maintenance — and it often makes more difference than buying a stronger deicer.
Step 7: Consider Long-Term Upgrades
If winter feels like an annual war with your driveway, you may be outgrowing your current setup.
Surface Upgrades
- Replace severely damaged sections with more winter-friendly materials.
- For new projects, consider permeable pavers or better base prep for improved drainage.
Heating and Smarter Melting
If you’re tired of constant shoveling and salt:
- Explore partial radiant systems on problem zones (like slopes or garage aprons).
- Use eco-friendly snow melting solutions for driveways 2026 as part of a move away from heavy salt use, especially near landscaping or water features.
You don’t have to go all-in at once. Start with your worst problem area and build from there.
Common Winter Driveway Maintenance Mistakes (and How to Avoid Them)
Even well-intentioned homeowners make these mistakes every winter:
1. Using Too Much Salt
More isn’t better — it’s just more corrosive and more expensive.
Fix: Follow product instructions, use the minimum effective amount, and rely more on shoveling and traction.
2. Waiting Too Long to Clear Snow
That pretty layer of untouched snow? It’s tomorrow’s ice sheet.
Fix: Clear snow as soon as practical, especially before temps plummet overnight.
3. Ignoring Small Cracks and Pits
Tiny cracks look harmless… until several freeze-thaw cycles stretch them wider.
Fix: Fill or patch minor damage before winter or during mild spells, using driveway-appropriate products.
4. Using the Wrong Tools
Metal shovels and aggressive snowblower settings can gouge surfaces.
Fix: Use plastic-edged tools where appropriate and adjust equipment height.
5. Forgetting About Edges and Transitions
Where your driveway meets the street, sidewalk, or garage apron, damage tends to gather.
Fix: Give edges extra attention in your inspections, snow clearing, and patching.
Simple Winter Driveway Maintenance Schedule
You don’t need a spreadsheet. Just a basic rhythm.
Before Winter:
- Inspect, clean, and repair surface issues.
- Seal or coat if needed.
- Set up proper drainage paths.
- Stock up on tools, deicer, and traction materials.
During Winter:
- Clear snow early and often.
- Use deicers strategically and minimally.
- Watch for recurring ice spots and adjust drainage or traction there.
- Keep edges and transitions clean.
After Major Thaws or Storms:
- Walk the driveway and check for new damage.
- Sweep up excess sand or grit if it starts clogging drainage.
- Note spots you may want to upgrade in spring.
After Winter:
- Do a deeper inspection for cracks, scaling, or potholes.
- Plan any bigger repairs or long-term upgrades.
Key Takeaways: Winter Driveway Maintenance Guide
- Winter driveway maintenance is about prevention: keep water, ice, and chemicals from tearing up your surface.
- Know your driveway type and choose tools and deicers that match it.
- Clear snow early and consistently to avoid packed ice.
- Use deicers sparingly and pair them with traction materials instead of relying on them alone.
- Drainage is a silent game-changer — if water can’t leave, ice will form.
- For chronic problem areas, long-term upgrades and eco-friendly snow melting solutions for driveways 2026 can save time, money, and mess.
- A simple, repeatable routine beats one big panic clean-up every time.
FAQs
How often should I clear snow off my driveway in winter?
Clear snow as soon as practical after it falls, especially before it gets packed down by traffic or refreezes overnight. A couple of lighter passes during a storm are usually easier and safer than tackling a heavy, compacted layer later.
Are all deicers safe for my driveway surface?
No. Some deicers are harsher on concrete, especially newer slabs, and others can damage certain finishes or landscaping. Always check the label, match the product to your surface and typical temperature range, and consider pairing reduced deicer use with more sustainable options like eco-friendly snow melting solutions for driveways 2026.
How do I know if my driveway needs a long-term upgrade?
If you’re seeing recurring cracks, deep potholes, constant pooling water, or chronic ice in the same locations year after year, maintenance alone may not cut it. That’s when it’s time to look at drainage corrections, resurfacing, or targeted upgrades such as partial heating or more eco-friendly snow management strategies.