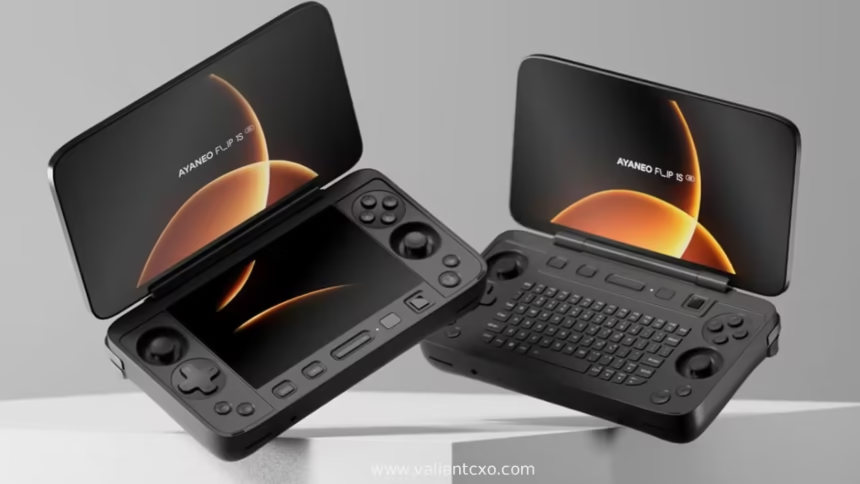
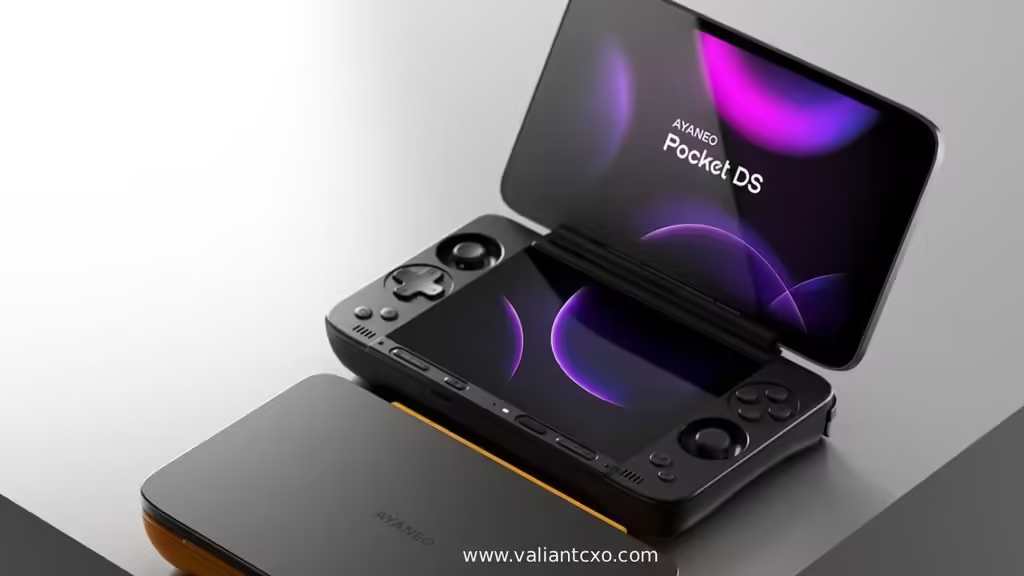
Retroid Dual Screen Add-on setup turns any compatible Retroid Pocket into a true dual-screen Nintendo DS machine in under 30 minutes. Clip on the 5.5-inch 1080p AMOLED secondary display, plug the USB-C, and suddenly Phantom Hourglass, Mario & Luigi, and every touch-heavy DS classic finally feel right. No more stacking screens or constant swapping. This $69 accessory is the practical bridge for owners of the Pocket 5, Mini, Mini V2, or 4 Pro—and a smart stopgap while waiting for fully integrated options like Retroid Pocket Duo Nintendo DS emulation.
- Instant second AMOLED screen with dedicated brightness controls and pass-through charging
- Full touch support on the add-on for authentic DS stylus play
- Works with dual-screen forks of melonDS and Azahar out of the box
- Compatible with official Retroid devices plus many third-party handhelds that support DisplayPort over USB-C
- Adds real dual-screen immersion without buying an entirely new clamshell
Here’s the thing: the hardware is simple. The software needs a few precise clicks. Get those right and you’re golden.
What You Need Before Starting Retroid Dual Screen Add-on Setup
Retroid Dual Screen Add-on setup Compatible base device (Retroid Pocket 5, Mini series, or 4 Pro preferred). The add-on clamps onto devices up to 115 mm tall. Confirm your handheld’s USB-C supports DisplayPort Alt Mode. Download the latest dual-screen melonDS fork (often listed as WatermelonDS or SapphireRhodonite builds) and Azahar from their official GitHub releases. Skip outdated closed-source options that lack external display code.
Keep a microSD with your DS and 3DS ROMs ready. Android treats the add-on as a second display the moment you connect it.
Step-by-Step Retroid Dual Screen Add-on Setup
- Physical attachment. Expand the clamp, seat it firmly on the bottom of your handheld with the rubber pads protecting the finish, and plug the short USB-C cable into the device’s port. The secondary screen powers on automatically. Use the side buttons to set brightness independently of the main display. Adjust the click-stop hinge to 120°, 150°, or 180°—most players settle on 150° for comfort.
- Confirm Android sees two screens. Long-press any app icon on the home screen and choose the launch-screen option if available. Or simply open Settings → Display and verify the second panel appears. On Retroid devices you may also check Handheld Settings → Connect TV and select the 1080×1920 RDS output if prompted.
- Install the right emulators. Sideload the dual-screen melonDS fork for Nintendo DS and the latest Azahar build for 3DS. Obtainium makes updates painless if you already use it. Launch each emulator once so Android registers them for multi-display use.
- Configure melonDS for dual screens. Open Settings → Video. Set External display screen (or Dual screen presets) to Internal: Top / External: Bottom—or the reverse if your preferred layout puts the touch screen on the main panel. Enable “Keep DS aspect ratio” and Integer scale. Switch the 3D renderer to OpenGL for upscaling. Map a dedicated Swap Screens button (L2 or R2 works well). Test with a known title; both panels should now show separate DS screens.
- Configure Azahar the same way. Go to Settings → Layout. Set Landscape Screen Layout to Single Screen and Secondary Display Screen Layout to Top Screen (or Bottom, depending on preference). Map controls and a Swap Screens hotkey. The bottom OLED remains fully touch-capable for stylus games.
- Fine-tune and save profiles. Create per-game layouts for titles that prefer the touch screen on top versus bottom. Adjust internal resolution (2×–4× is usually the sweet spot on Snapdragon hardware). Disable on-screen overlays once physical controls feel locked in.
- Test thoroughly. Load a touch-intensive game, confirm latency feels acceptable (most users report roughly one frame of added lag), and verify pass-through charging keeps the battery topped up. Disconnect and reconnect once to make sure settings stick.
Retroid Dual Screen Add-on setup What I’d do on a fresh install: attach the screen, launch melonDS first, force the dual-screen layout, then immediately jump into a short session of a map-heavy RPG. If both panels behave, expand to 3DS. Thirty focused minutes beats weeks of frustration.
Common Mistakes & How to Fix Them
Retroid Dual Screen Add-on setup Mirrored screens are the number-one complaint. Android defaults to duplication until the emulator is told otherwise. Force separate internal/external assignments inside the emulator Video or Layout menus—not just system display settings.
Touch not registering on the add-on usually means the wrong orientation firmware or a loose cable. Reseat the USB-C firmly. On non-Retroid devices you may need the portrait or landscape touch firmware updater from Retroid’s support repo.
Stretching or black bars appear when aspect-ratio lock is ignored. Always enable Keep DS aspect ratio and prefer integer scaling. The 4:3 bottom panel rewards pixel-perfect setups.
Using a non-dual-screen emulator build. Official melonDS without the external-display fork simply won’t split the screens. Grab the community dual-screen version every time.
Brightness mismatch between panels. Use the physical buttons on the add-on itself rather than system settings. They control the secondary display independently.
Quick Specs & Compatibility Snapshot
| Feature | Detail |
|---|---|
| Screen | 5.5″ 1080p AMOLED, up to 500 nits, 107% sRGB |
| Connection | USB-C DisplayPort + clamp (max device height 115 mm) |
| Power | Draws from host + pass-through charging |
| Hinge | Click-stop at 120° / 150° / 180° |
| Official Support | RP5, Mini, Mini V2, 4 Pro |
| Third-party | 6–7″ devices with DP-over-USB-C (Steam Deck excluded) |
| Weight | ~130 g |
Figures drawn from Retroid’s official product information and independent reviews as of 2026.
This setup delivers genuine dual-screen DS and 3DS play today. It’s bulkier than a purpose-built clamshell, sure, but it costs far less and lets you keep using the handheld you already own. Once you’re comfortable with the layout and emulator settings, the jump to a fully integrated device becomes even more compelling—exactly why many players are already eyeing Retroid Pocket Duo Nintendo DS emulation as the natural next step.
The real win is simple: DS games stop feeling compromised. Clip the screen on, run through the five-minute emulator config, and you’re playing the way the designers intended. Keep the dual-screen melonDS and Azahar builds updated, and the experience only gets better.
Key Takeaways
- Physical clamp + USB-C is the entire hardware install.
- Dual-screen melonDS and Azahar forks are non-negotiable.
- Force separate internal/external layouts inside the emulator—system mirroring is not enough.
- Integer scaling and aspect-ratio lock keep visuals clean.
- Dedicated Swap Screens button saves constant menu diving.
- Pass-through charging and independent brightness controls remove daily friction.
- The add-on is the cheapest authentic dual-screen path available right now.
- Master this setup and the transition to future integrated hardware feels seamless.
Master the Retroid Dual Screen Add-on setup once and every DS title in your library suddenly plays better. Attach the screen, lock in those emulator layouts, and start a fresh save. The dual-screen era is already here—you just need the right five minutes of configuration.
FAQs
Does the Retroid Dual Screen Add-on work with non-Retroid handhelds?
Yes, provided the device has a 6–7 inch screen, supports DisplayPort over USB-C, and is no taller than 115 mm. Steam Deck is explicitly unsupported.
Which emulator is best for Nintendo DS on the add-on?
The dual-screen forks of melonDS (WatermelonDS / SapphireRhodonite builds) currently offer the strongest external-display support, upscaling, and touch handling.
Will this setup feel the same as a dedicated dual-screen handheld?
It gets very close for gameplay, but the clamp and cable add noticeable bulk compared with an integrated clamshell. Many users treat it as the ideal bridge until purpose-built options mature.